Sunday, January 3, 2016

Cosplay-Step one: Pre-planning. (Photo heavy)


Hello everyone! I've been meaning to blog the process of how I go into and finish making a cosplay. So since it's a new year and we're planning some pretty big stuff, I think I'll be finally blogging each step that goes into my method of planning and making a cosplay. My first cosplay of the year will be Sieglinde Sullivan from Black Butler. She'll be the featured character for my planning blog posts. 

                                                     Sieglinde Sullivan: The Green Witch

Please remember this is how I plan out my husband and I's cosplays. If you ask a thousand people how they plan out a cosplay, I'm sure you'll get just as many different answers. Do what you feel works for you! Also these blog posts will be covering making your cosplay. There is nothing wrong with buying your cosplay. 


Step one: What are we working with?

Gather pictures of your character. What are the small details you might have missed while excitedly reading that new chapter? This, honestly is one of the most important steps if you are trying to make the cosplay as accurate to the original as you can.  


Note: It's also important to find different views. Example: Side, back (usually the hardest to find.), ect. 

With these pictures take some time to look them through. Whether that means you're rewatching your favorite scenes with this character or flipping through a manga to find pictures of their outfit. I'm a huge fan of little details (beads, ruffles, lace.) so those are the type of details I often look for. Did you know she has little beads/pearls on her hair nets? I think that will make those tricky hair nets fun for me to make just due to that little detail.  (check out the last pic, first row.)


Step Two: Figure out if you'll need props.

You don't need props in order to cosplay. But if you do decide to make some props look back through all those pictures you've collected for something the character might hold or use often enough that it would be something that would help people at a con recognize your character. 

Sieglinde has a wand that is pictured a few times in the manga. I'd say this is really her only prop, but it isn't something many people would recognize. But that is okay! Not every character has a big blade that is easily noticed.  In the second picture you'll notice she also has a small bottle that hangs off her belt. This could be a very fun prop to make. Just be careful how much it weighs as it might make the belt a big heavy.


Step Three: Accessories 

Accessories can be seriously fun to make or buy, which ever you chose, one thing is for sure; accessories are important. They add the finishing touch to a costume.


Sieglinde's choker appears to made out of delicate black lace. I'll most likely be piecing this together using venice lace.Or by using lace fabric. If I have enough time I might even make it by tatting.


This is by far the most important accessory Sieglinde has as it crowns her head and gives her a unique look. Her headdress is very similar to that of a lolita headdress (pictured below.) The beaded hair nets cover Sieglinde's long hair and forms it into horns. It does not seem to have any type of strap or ribbon tying the headdress on. Which means it is either clipped on or stays on by the hairnets going over the horns.

The headdress features...


  • Ruffles
  • Beads (pearls?)
  • Two bows under each "horn"
  • Small lace trim (in front of ruffles.)


Next accessory is Sieglinde's mesh gloves/sleeves.

These are attached by her middle finger. Similar details like her choker (little knotted loops.) Not sure how far they go up, but I'm guessing to her elbows. I'll have to search for more pictures.


Step Four: Shoes

Most characters wear shoes. Not all do but when at a convention, it is most likely a rule that your feet must be covered. I usually buy our shoes as I'm no shoe-maker. However, I'm not sure if I'll be able to buy already made shoes for Sieglinde.


Sieglinde had her feet broken and bound (It's a ancient Chinese tradition.) limiting her walking to a few steps. There are two ways I'm thinking of making her shoes.

1. Wedges or heeled flats.

Wedges are very similar to the shape of her shoes but a bit blocky and might be too tall. However, heeled flats might be the perfect shoe for sieglinde. I've seen a few cosplayers use heeled flats already and I love how they look.


2. Rocking horse shoes

This could be the most expensive route. I would have to carve the back of the rocking horse shoes into the correct shape but I'm not sure if this would work properly.


(Optional) : Underclothes 

Underclothes aren't always important. You don't even need to make them if you don't want to. You especially don't need to make them pretty as no one is really going to see them. They only are used to give shape to the outfit (mostly dresses/skirts)


For Sieglinde I've sketched out this simple petticoat and corset. Obviously there aren't any pictures of what her underclothes may look like so I'm basing it a bit off of Elizabeth's corset.

I haven't decided if I want to add a hoopskirt but I am most likely going to be making a very fully tulle petticoat instead in order to give the dress less strict shape.

The petticoat will be shorter. I drew it long. Oops.


Step Five: Parts of the outfit

Some outfits are in pieces. Others are one piece. Some include coats. By looking over a full body picture of the character you can figure out what makes up your character's outfit. You may not be able to make certain parts so this is when you can decide what you can skip and what you should make last.


Sieglinde has a complex outfit full of pieces.


  • Dirndl style corset
  • Green overskirt with large bow and train
  • Layered skirt with lace
  • Long sleeves with ruffles
  • Green stockings
  • Puff sleeves

The corset will not be boned as I'll be wearing a boned corset underneath. The ruffles on the bottom of the Dirndl style corset will have horsehair in the ruffles at the bottom. This stiffness should help keep the corset weighed down and in place. 


My plan is to make the second layer of the skirt a under-dress which the bodice is attached to. This should help keep the skirt less bulky. I had that problem with NoFlutter's Pluto.

The tails of the bow on the back of the dress will be long and drag behind me. The bow will most likely be sewn onto the skirt in order to keep it from being torn off if stepped on.

The first thing I'll be sewing is the underthings (petticoat and corset.) then I'll be sewing the skirts. This will be to gauge how the corset will fit over it. The corset also has more details which I'll want to take my time on. The last part will be the bow and while I start on all the larger pieces I'll be working on the shoes, wig and accessories. 


I hope this was (sort of ) helpful. Obviously every character will be different. This is just how I go about the early steps of planning out how I'm going to make a cosplay. Things may change during the process but that's to be expected with any project. After deciding how to make your cosplay and what is apart of the cosplay, the next step would be to start thinking about patterns, fabric and trim which is what the second part of this series will be about.


If you are interested in seeing a tutorial done for a certain part of this cosplay, comment below or on our FB page Equus Cosplay to tell us what you would like to see when I begin making Sieglinde Sullivan. I'd also love to hear what you think of this blog post and what you like to see int he next one!


-Jessica.


Friday, July 3, 2015

A change


I haven't written a blog post in a long time! Things have been crazy busy as we only have one month we get married AND move out. A while back I had been struggling with the idea of quitting cosplay. The last few conventions just weren't fun. We were more stressed than happy. Between friend drama and stress caused by myself and having to rush sewing projects, I couldn't relax and enjoy the experience of cosplaying.

Cosplaying should be about goofing around and having fun. But I held back and it caused a lot more harm than I thought it would. So we've decided to change things. I'll be honest, I got too caught up in contests. And because of that I sort of forgot why I entered contests--to have fun!!! To get the rush of being on stage and preforming.

Instead of having to rush four cosplays in 7 months we've decided to only do one set of cosplays. I didn't have fun on stage last time because Nic wasn't up there with me. So we're sticking with what we used to do--couple cosplays!


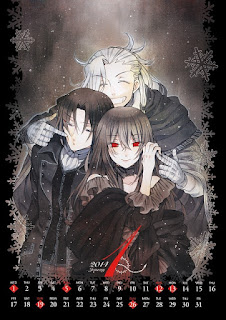
For Sakura-con our only cosplays will be Lacie and Levi from Pandora Hearts. I guess you can say we're going back to our "roots". Pandora Hearts was our first series we cosplayed from. Those first few cons were amazing. We were rarely in the hotel and were busy as bees, having fun and meeting new people. And we want to experience those things again.


I cannot start sewing until the end of August or the beginning of September. which will be plenty of time to get Lacie's gown done and two outfits for Levi. I'll be making Levi's past outfit and the outfit as shown above when he's closer to death. I think I might even step it up and start hosting the Pandora Hearts meet-up again. Maybe.

With all the free time we'll have with only one set of cosplays this also means I can start focusing more on building and finishing a full lolita coord. Which is teething I had been planning on doing for years now but cosplay always got in the way and took up all my free time and money. Since my dream dress from Haenuli is...in a tricky situation I'll be building a coord for my other Haenuli JSK, Planetary Dreamer!


Being in lolita will also give me the chance to keep up with the boys. Meaning we can also stay out later, experiencing the convention fully. Maybe I'll even meet up with some other lolita and make some friends. We're also going to do something we never get the chance to do and that's go out of our way to take pictures of cosplayers! I love seeing people's cosplays and always want to go up and take pictures but taking pictures while dressed in crazy cosplays has been a bit challenging for me. So in 2016 I'll be in lolita with my camera ready!


I'm hoping by making these positive changes to ourselves we can find the happiness cons and cosplays used to bring us. I have some pretty big plans with Lacie and Levi and hopefully I can write more blogs about that and if we get enough feedback, maybe even start videos?


Saturday, January 18, 2014

Today's work load.

There is so much to do! I'm currently working on my synopsis for my novel so this post will be short. Sorry about that!

Today's work


  • Sewn cuffs on
  • made mock up for scarf
  • Cut scarf pieces out


Making a pattern or mock up is very simple. I use unbleached muslin. It's cheap and a very easy fabric to work with. This is the beginning stages for the scarf.

The scarf will be 55 inches long. There will be two pieces, sewn along the back. It will be lined with a long red, gold trimmed cross on each bottom piece of the scarf.


Here is the scarf. The fabric I'm using is Daphne poyl/cotton blend. It's sort of like the fabric hankies are made out of. Thin but very soft. The reason I chose this was became broadcloth is too firm. The scarf needed a nice flow to it. This fabric was cheap and very soft.

Plus I don't think Abel's scarf would be made out of a expressive fabric. Seeing as his clothing are always being torn or lost. So it works out in the end.


The cuffs! These were a lot of trouble. Because we changed the size they were too small for the sewing machine! Luckily the seam I was making will never be seen. It was a bit too sloppy for my liking but I had no choice. There is a part that will need to be hand sewed tomorrow but otherwise they are done.

Now I have to hem the bottom of the cassock and make the slits. I can't do that tomorrow as my fiance will be working. So that will have to wait.


It's almost done!!!!


Another thing I did today is remove the lace from my Caterina cosplay. This lace (since I have extra of this size.) will be used to make Seth's choker. I used the wider version of this lace for the underskirt for Seth. I'll use it again for her sleeves as well.

I think I have enough to start making the choker. I may wind up beading it as well. Just to add some bling to it.


Tomorrow's goals


  • Finish sewing the scarf
  • Start making the details on the scarf
  • Finish the cuffs
  • Start on the bias tape.

Lots to do. Luckily I can do all of it without help. I'm very excited to test out the new fabric glue I got and get started on Seth's choker. I am so close to finishing Abel. It's very exciting to see it all coming together. I will admit I am looking forward to making Seth. Not only because its mine but because there is so much to do. It'll be a real challenge.

I love me a good challenge.

That's it for now.

Thanks for reading!


Friday, January 17, 2014

Scarf supplies and update on progress

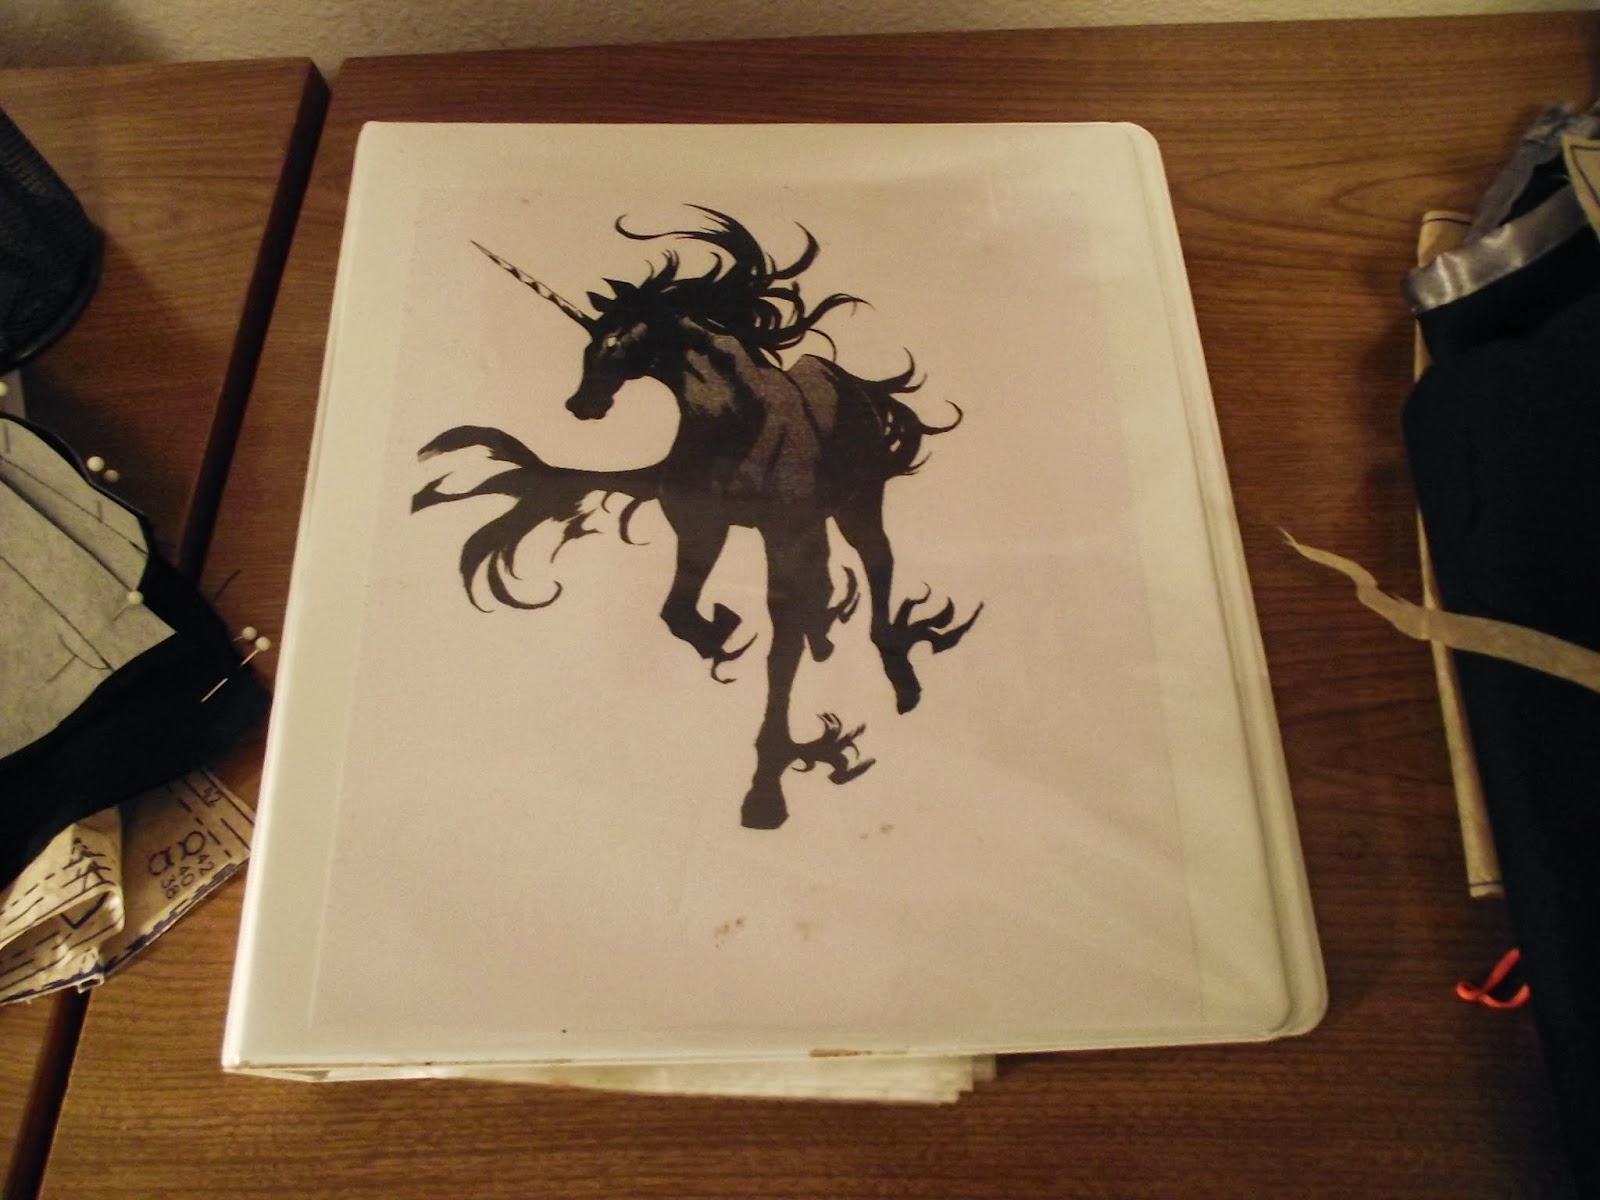
                                                                 Look at dat horse.


Busy bees. We have been busy, busy bees. Yet with 90 days left I feel like we haven't been busy enough. So I'm waking up earlier these next few months to get work pumped out. Now I have something to work on when my mother is away at work and cannot assist me with issues that come my way. The picture I posted above is of our awesome progress notebook that is filled with ref pictures and samples of fabric and beads and whatever else we're using. I've also listed how many yards we've used per fabric. This book will be brought to contests for the judges to look at. I always forget something when we are being judged so I thought this would be a good way for them to read over all the details in case I forgot something. It'll also have some progress pictures in it that they may not have seen yet.

The notebook has kept me really focused and organized so far so I'm really enjoying filling it up with info about our current TB project. We'll be doing this for now on for all our costumes that will be entered into contests.


So first progress pic, the cuffs. These are done a little differently than I'm used to but they are still easy and pretty straight forward. I did have to modify them a bit as we made the sleeves fitted. I have to cut a bit off one of the cuffs as it is a bit too long and not very even. Otherwise they are almost ready to be sewn onto the sleeves.


And here is a little preview of the cassock! I'm loving it so far. It looks great on my fiance and is nicely fitted to him. There isn't much more to do luckily.


  • Sew on cuffs
  • Create slits on the bottom of the garment.
  • Hem the bottom
  • Sew on the bias tape
  • Create crosses on sleeves
I'm glad I'm almost done with Abel. 


We also got the supplies for the scarf today! I found a soft cotton fabirc (sort of like what hankies are made out of.) Luckily there was just enough to make the long scarf. We also got a thin gold trim and red fabric that will be used for the crosses on both Abel's cassock and the scarf.


The red fabric will also be used for the circles on Seth's train and hat. It's a very soft Kona broadcloth. I love it. I found some fabric fusion glue as well. I'm hoping this stuff will work well on the red fabric and trim as I want to use it for Seth as well to save me time. It's washable glue that is permanent so hopefully it goes okay.  
I'm hoping that Abel and his scarf will be done before the end of January so I can start on Seth. That would give me two full months to get Seth done which is perfect. I'm sure I can finish her within that time range. Maybe even make Abel's wings too! 

Remember to check out our Fb page for more updates! Thanks for reading.

https://www.facebook.com/pages/Equus-Cosplay/169389529916223?ref=hl


Tuesday, January 14, 2014

Updated to-buy list

Our updated list of what else we need to buy for our Trinity Blood cosplays.


Abel


  • Black skinny jeans 
  • Two wide belts
  • Combat boots (Maybe. I have a pair. We just have to see if they fit.)
  • Acrylic tubes (For the back piece and dangles on the belts.)
  •  White fabric + red for Abel's scarf
  • New contacts
  • Silver beads

Seth

  • White fabric, dark green fabric and gold fabric.
  • Shoe supplies (Ribbon, dye, soft pointe shoes, lace.)
  • Gold trim, lace. (Lace for both sleeves and choker.)
  • Red tights/stockings
  • Supplies for the hat
  • Resin for gems (plus molds)
  • Wig
  • Contacts

Maybes

  • Black feathers
  • Supplies for wing harness
  • Second wig for Abel 


So that's it.

Monday, January 13, 2014

All the cosplays!

A question I often hear people ask is do you think it is better to cosplay a lot of characters or just one very rarely cosplayed character?

Since this is such a good question I couldn't help but to want to write a post about it. I am quite torn on this question. We normally cosplay at least two-three cosplays per con. This way we have a cosplay for everyday. Since we rarely cosplay on day zero (The day before the con starts.) we will wear one cosplay one day then a new one the next. Again, we do not cosplay on day three as we have to check out hotels and drive home. So two is normally enough.

Last con we brought three outfits. It was fun but very bothersome.  One of them we wore for a total of thirty minutes and tore it off as soon as we got in our room. Although it was fun it was a ton of work and we found ourselves in our hotel room more than around the con. It wasn't very fun. Of course we didn't have a connection to the characters like we normally do.

Our very first con we only had one cosplay. Break and Sharon from Pandora Hearts. We had such a great time. Having only one character to cosplay meant we had more focus to put into getting into the role of being that character. We don't have to worry about changing into another cosplay. That means one make-up look, one wig, one set of accessories and one pair of shoes to get used to.

Here is a short list of good and bad things I've noticed about cosplaying numerous characters and just one. These are based off of my experiences and may not be the same for you.

One, unique character to cosplay.

Pros


  • There is a few or none cosplaying the same character as you. (You literary feel like you ARE that character.)
  • You stand out
  • Makes group shoots a lot more fun
  • Less to pack
  • Makes taking a break easier (Will discuss below.)
  • More picture taken of you

Cons

  • Sweat (You will sweat and sometimes it shows. If you have one costume, you can't change and wash it out without having to wait hours for the fabric to dry. This happened to me the first time I cosplayed.)
  • Your costume may become dirty/stained or damaged.
  • No one may know your character (Been there, done that. Not much fun.)

The pros are very easy. And they over rule the cons. When I talk about taking a break I mean going into your hotel room to eat or just wind down and rest your feet for an hour or two. For my fiance, friend and I we like to remove our wigs, kick off our shoes and costumes and lounge for a bit. When you have only one costume it's very easy to remove our outer pieces and relax. We don't have to worry about changing our make-up or contacts. 

Now for the bad side. Our first time cosplaying we had to walk quite a while from our hotel to the con site and I wore a long ballgown that came un-stitched so it dragged on the ground. It became so dirty I was really upset. I spent the entire evening scrubbing dust and grim off the pink trim. I did get most of it off and somehow managed to get the fabric dry (this fabric is horrible to get dry.) But when I found myself in the hot summer heat and started to sweat I found hiding that very hard. We didn't stop at the hotel often because of how far away it was so I just kept my arms down but it was horrible and I felt very gross. The fabric is not breathable.

When I cosplayed more than one character I found it easier to avoid all that but didn't feel as connected to the character. We wound up changing from character to character a lot because we were bored. It wasn't much fun. Sakura-con we only bringing one cosplay for each of us. And at first I was nervous. The train of the dress is white. What if it gets dirty? I decided I'll just sew on a clear strip of elastic or plastic and use that to wrap around my wrist so the fabric is lifted while I walk outside or in a crowded room like the dealer's hall. Of course we'll be bringing along some Tide pens too. Instead of wearing the cosplay when we are in our hotel room I'll remove it so there is less of a chance of it getting dirty.

I have to say I am very excited to cosplay only one character. Now if only I could hurry up and finish Abel so I can start on Seth and get everything done on time so we can cosplay. I have quite a lot of time so I'm pretty sure we'll be able to get everything done. We're going fabric shopping for the white fabric for Seth later this week. I might look at trim too and see what they have for Seth.

In the end I don't it matters if you cosplay a lot of characters or one. As long as you are having fun and enjoying your time, I don't see how it would matter. Some people can only afford one cosplay per con. So what. Enjoy your cosplay to the fullest. I hope you have fun.


Thanks for reading.


Feeling inspired

Although today has started off in a rather heart retching start I am finding myself feeling very inspired to finish up Abel today. That's one of the reasons I love having a FB page for cosplay. I watch all the cosplayers I like and admire and today someone posted a picture of their award winning Trinity Blood cosplay. She made it so nicely I always feel so inspired after seeing her work.

Abel's cassock is almost finished. Yesterday I finished putting in the zipper. I hate zippers. But it looks pretty good. It was my first time doing an invisible zipper which it turns out is just as hard (if not more.) than sewing in a normal zipper. The reason it had to be hidden is because you cannot tell what is closing Abel's cassock. It's just closed. So I had to come up a way that the zipper will not be seen. The zipper was the best way to have it close and still be able to have it hidden away under two small flaps of fabric. It worked. But the flaps are very small. I may not be able to sew on the bias tape as I wanted to. So I have to play around and see if my iron on tape will work under the bias tape. Just in case.

                                                      It's closed by sexy Crusnik magic


Besides the bias tape I am now working on the sleeves. There are three pieces. Upper sleeves, lower and cuffs. I love sleeves! They are so basic and easy to do. Why aren't I doing them right now? I don't know! They are very easy. So I'm pretty sure both sleeves will be on today.

When the sleeves are done I will have to hem the outfit and cut the slits on the bottom of the cassock. There are three openings besides the one on the front. But, again those are very easy to do. Then I will be ready to do the bias tape. I need to figure out to make the corners a lot nicer so I better go research that now.

Then in a few days we'll be heading out (with coupons armed.) to go find the perfect white fabric for Seth. I am very eager to get started on Seth since I have a matching hat to make for her and fabric painting and hand sewing to do for the dress. So there is ten times more work to be done on her dress. Luckily I have worked with the pattern before and am used to it. We will be adding two other patterns to the dress pattern to modify it. I will be making the pattern for the sleeves myself.


Thanks for reading!